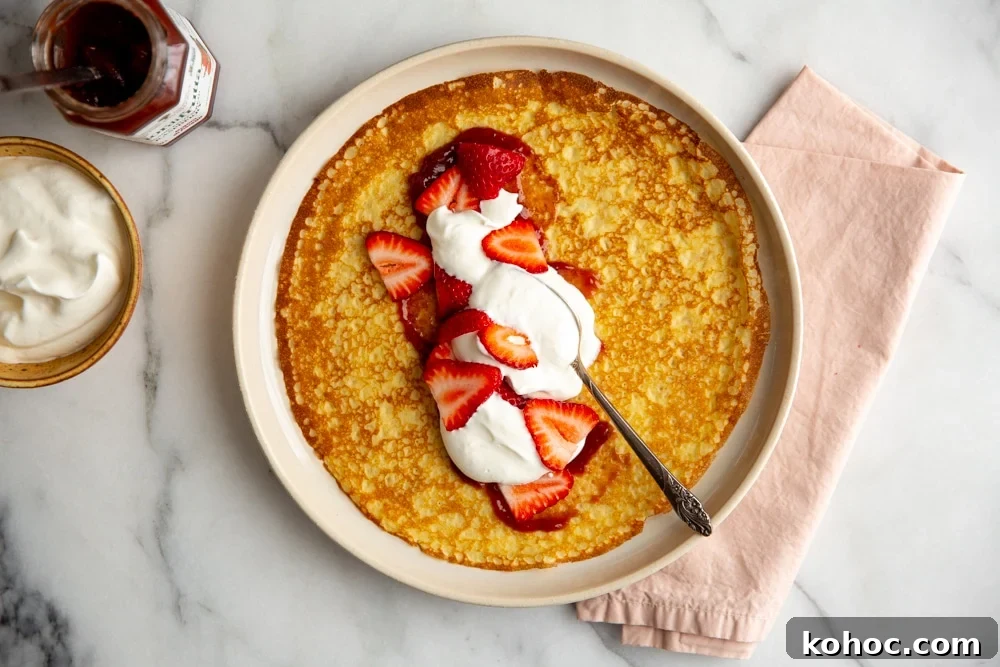
This gluten free crepe recipe is easy to make and yields thin, tender crepes with slightly crisp edges that closely resemble the classic French version. The batter comes together quickly in a blender, is chilled briefly for improved texture, and then cooks in a nonstick skillet on the stovetop. Below you’ll find clear, practical instructions and serving ideas for breakfast, brunch, lunch, dinner, or dessert.
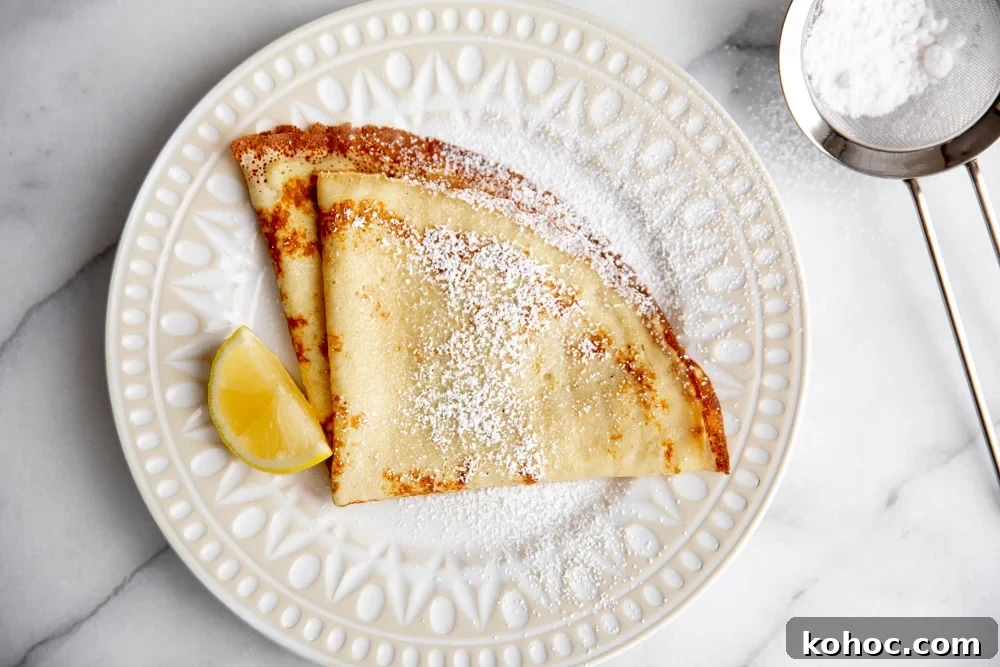
Table of Contents
Why You’ll Love These Gluten-Free Crepes
These crepes are delicate, flexible, and slightly lacy at the edges, so they work equally well with sweet fillings—like fruit and chocolate—or savory fillings—like ham and cheese or eggs. The blender method ensures a smooth, lump-free batter, and a short rest in the refrigerator improves hydration and texture, making the crepes less likely to tear. They cook quickly in a nonstick pan and can easily be doubled for a crowd.
You can make them dairy-free by swapping whole milk and butter for plant-based milk and vegan butter. To warm fillings or melt cheese or chocolate, fold the crepes and heat them briefly in a moderate oven until everything is warmed through. The recipe is versatile and forgiving, perfect for everyday breakfasts or special brunches.
Nicki’s Tip: Resting the batter makes a big difference with gluten-free crepes. Chilling for at least 30 minutes (or up to overnight) lets the flour fully hydrate and yields smoother, more flexible crepes. If the batter thickens after chilling, whisk or blend it briefly until it pours easily.
Ingredients You’ll Need
These crepes use common pantry ingredients that combine to create a thin, cohesive batter that cooks evenly and holds together when filled.
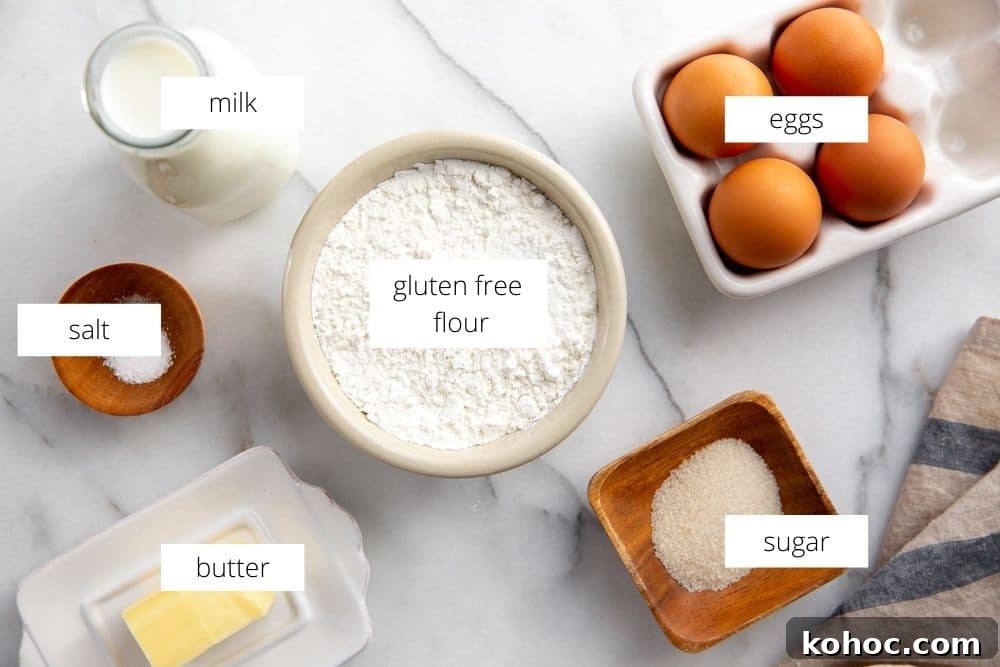
- Gluten-free all-purpose flour blend: Use a 1-to-1 baking blend that contains a binder such as xanthan gum to mimic gluten’s structure.
- Milk: Whole milk gives a sturdy, flexible crepe that’s easier to flip. Almond or soy milk work well for a dairy-free version.
- Eggs: Eggs provide structure and elasticity so the crepes hold together.
- Butter: Melted butter adds flavor and helps prevent a gummy texture; use a dairy-free spread if needed.
- Sugar: A small amount improves flavor and helps the crepes brown, even for savory variations.
- Salt: A pinch of salt balances the batter and enhances flavor.
How to Make Gluten Free Crepes
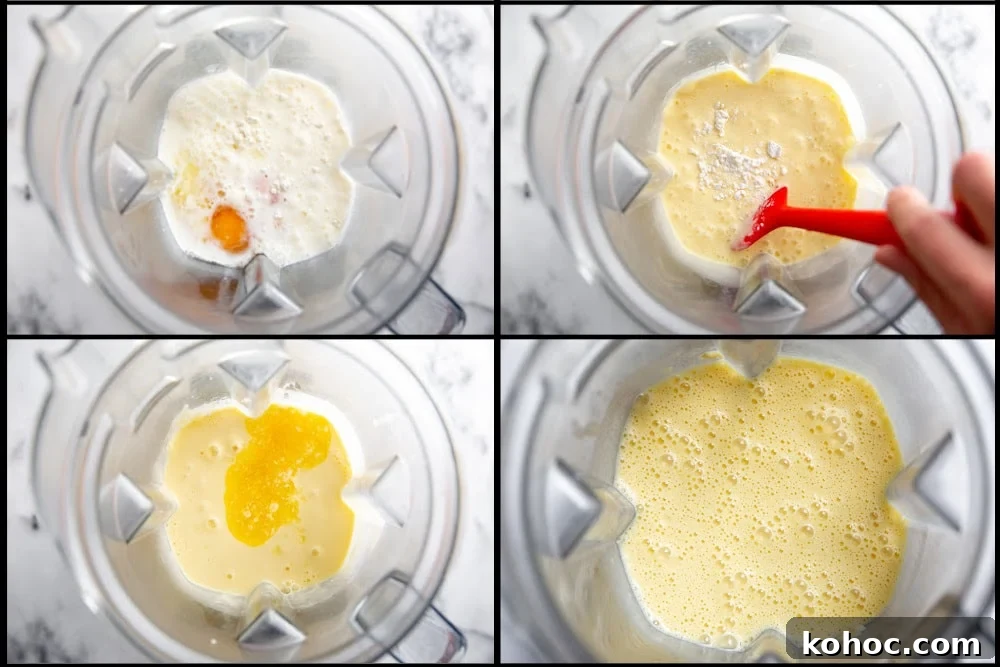
Step 1: In a blender, combine the gluten-free flour, sugar, salt, milk and eggs. Blend until the mixture is completely smooth. Scrape down the sides, add the melted butter, and blend briefly until fully incorporated. Chill the batter in the refrigerator for at least 30 minutes, or up to a day.
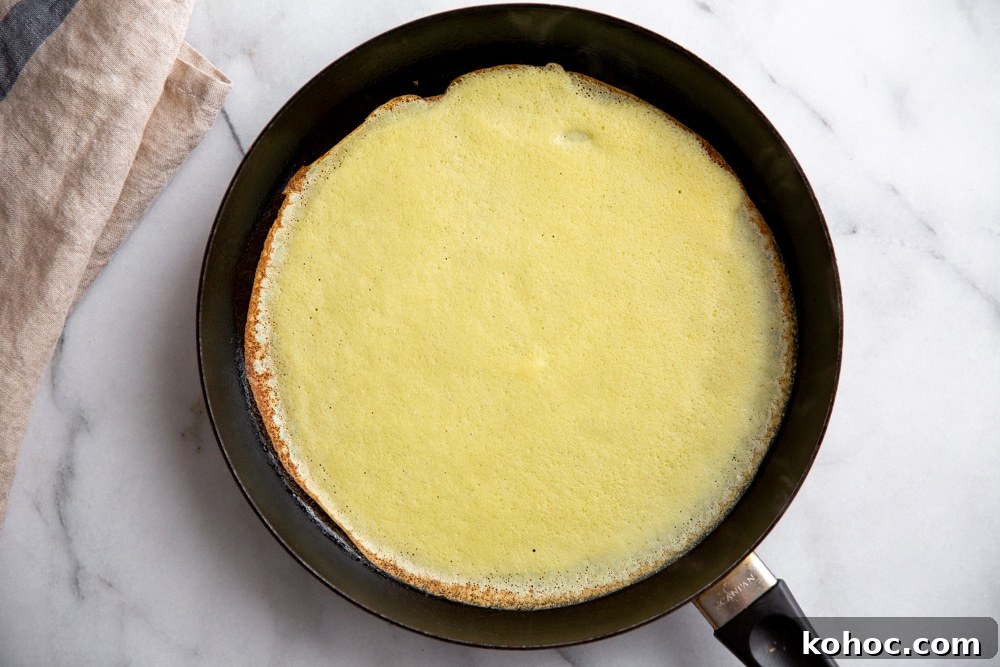
Step 2: Preheat a 10-inch nonstick skillet over low heat with 1 teaspoon of vegetable oil for about 5 minutes, then raise the heat to medium. Use a paper towel to spread and remove any excess oil. Pour about 1/3 cup of batter into the pan and immediately tilt and swirl to coat the bottom in a thin layer. Cook until the edges turn lightly browned, about 30–60 seconds.
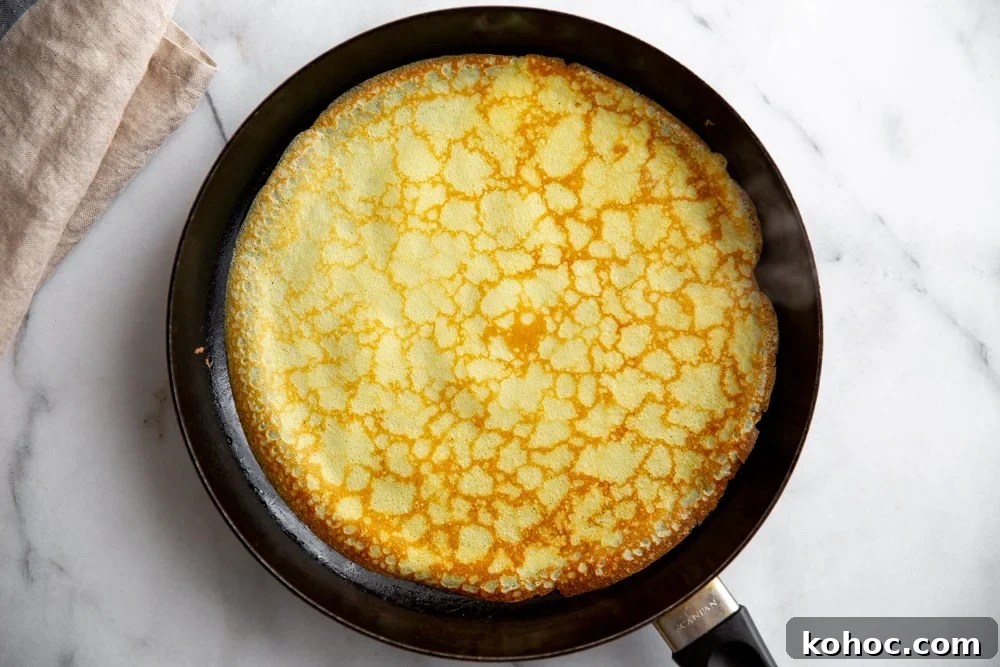
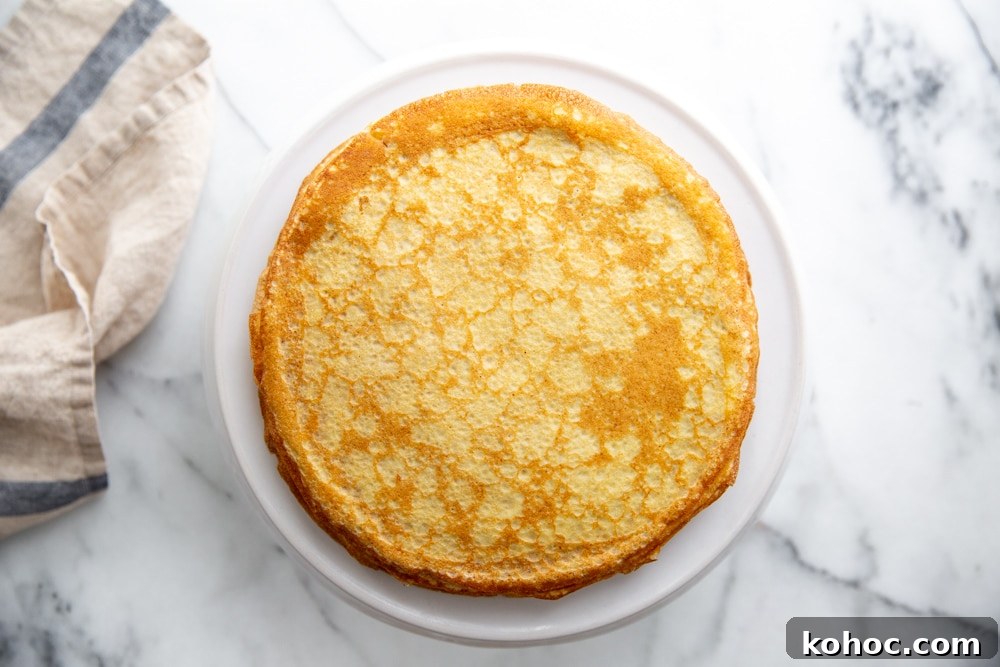
Step 3: Use a thin spatula to loosen the edge, then quickly flip the crepe. Cook the second side only briefly—about 10–20 seconds—until lightly browned in spots. Transfer the crepe to a cooling rack and repeat, stacking as you go.
Recipe Tips
- Use a 10-inch nonstick skillet for easiest results; larger or smaller pans work too—adjust the batter amount accordingly. Cast iron is not ideal for swirling thin batter.
- Sugar improves flavor and promotes browning. For a subtle sweetness, use 1 tablespoon for savory crepes; for sweet crepes, use 2 tablespoons.
- Preheat the pan thoroughly for consistent browning and predictable cooking times.
- Swirling the batter to form a thin, even crepe takes practice. Don’t worry about perfect circles—the taste is what counts.
- A thin spatula, like a fish spatula or an offset spatula, helps loosen the crepe before flipping.
- Flip quickly and carefully: the crepe will be hot. If you prefer, use heat-resistant gloves or slide the crepe onto a spatula before flipping.
Serving Suggestions
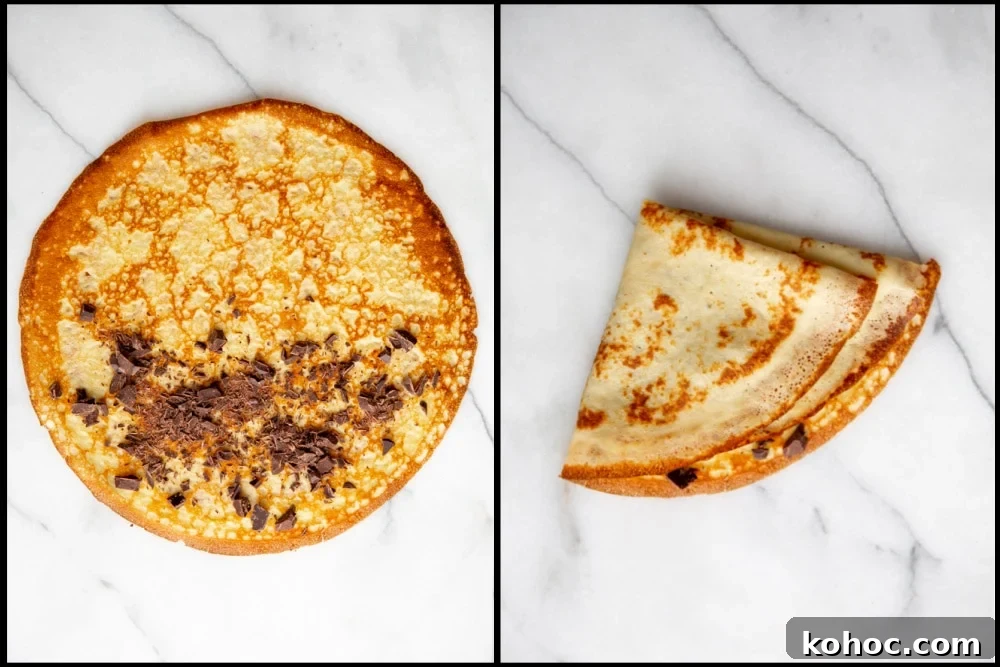
Gluten-free crepes are extremely versatile. Here are favorite ways to serve them. To melt chocolate or cheese in filled crepes, fold them over the filling and warm in a 350–375°F (175–190°C) oven for 5–10 minutes.
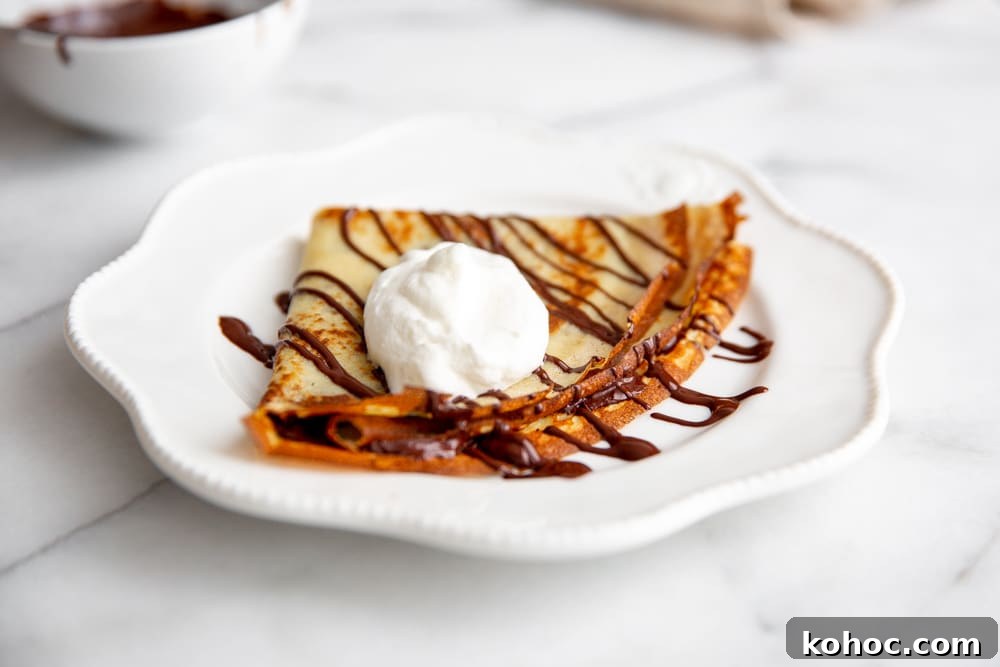
Sweet Crepes
- Brush with butter, squeeze fresh lemon, and dust with sugar.
- Sprinkle with chopped chocolate or chips, then warm until the chocolate softens.
- Spread with Nutella, peanut butter, jam, or fruit curds and top with fresh fruit and whipped cream.
- Fill with sliced bananas and drizzle with melted chocolate; serve with ice cream for a decadent treat.
- Layer crepes with filling to build a crepe cake for a special occasion.
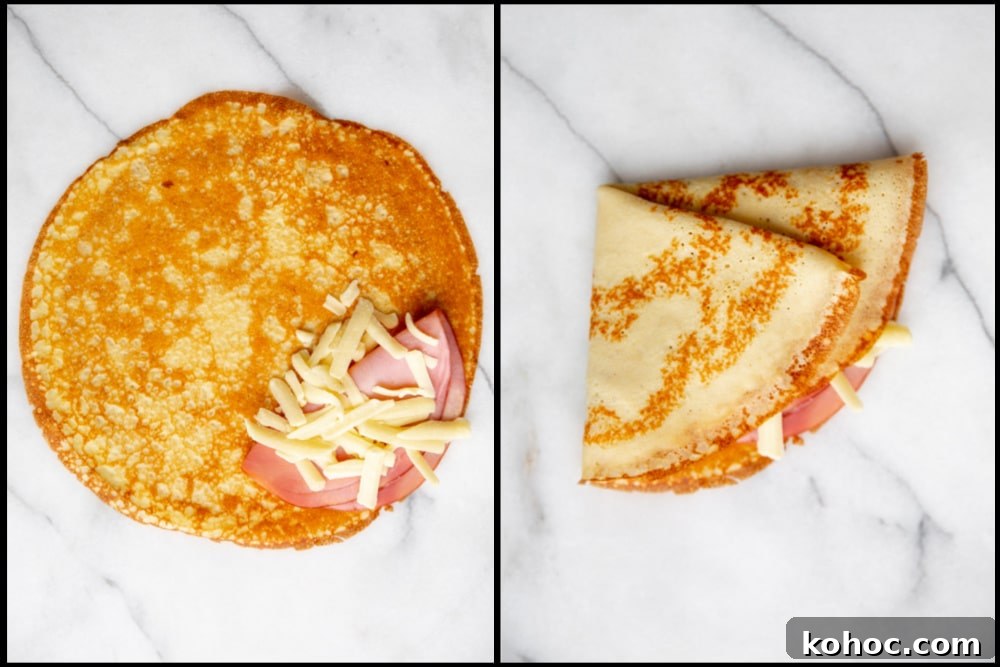
Savory Crepes
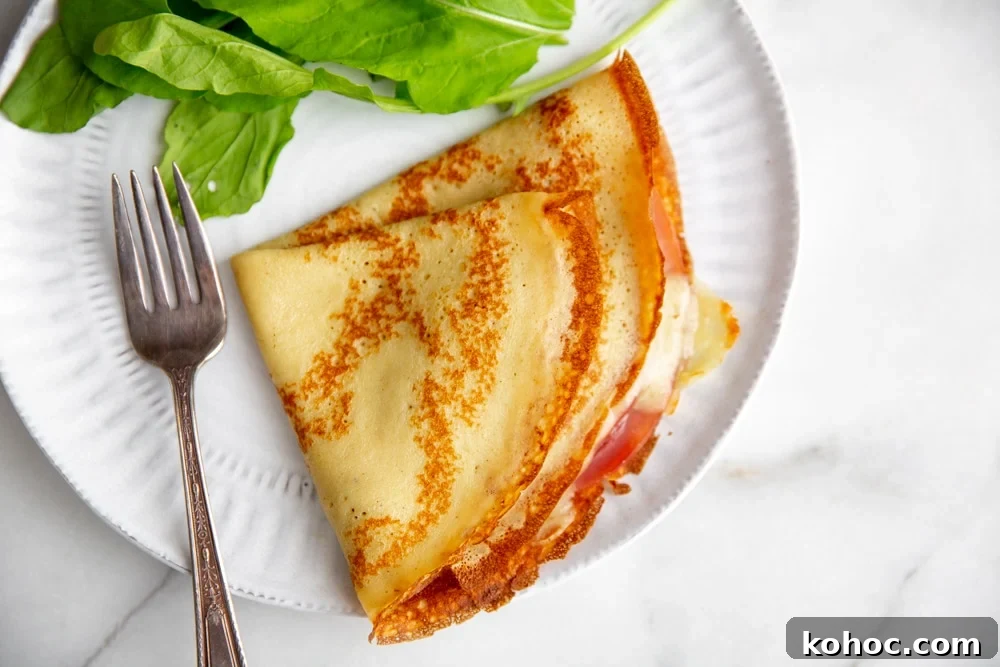
- Layer ham and cheese, then bake briefly until the cheese melts.
- Top a crepe with a fried egg and grated cheese for a simple meal.
- Fill with sautéed spinach, mushrooms and goat cheese or ricotta.
- Stuff with scrambled eggs and chives for a hearty breakfast crepe.
- Serve with smoked salmon, capers, chives and a dollop of crème fraîche.
Recipe FAQs
Yes. The batter can be made up to one day ahead and kept refrigerated. Just whisk or blend briefly before cooking if it has thickened.
Cool the crepes, then stack and store them in a large zip-top bag in the refrigerator for up to five days. For longer storage, freeze them for up to two months.
If frozen, thaw in the bag at room temperature until they separate easily. Reheat in the microwave for 15–30 seconds, or warm filled crepes in a 350–375°F oven until heated through.
*This post previously included product recommendations. The recipe itself uses common pantry ingredients and the instructions above will help you get reliable results.
P.S. More Gluten-Free Breakfast Recipes:
- Cranberry Walnut Scones
- Banana Oat Blender Pancakes
- Blueberry Blender Muffins
- Banana Chocolate Chip Breakfast Cookies
Watch the Video!
Stay Connected

Subscribe
Get weekly gluten-free recipes and kitchen tips delivered to your inbox to help make cooking easier and more enjoyable.
Get the Recipe!

Gluten Free Crepe Recipe (Sweet or Savory!)
Equipment
- 10 inch non-stick skillet
Ingredients
- 1 cup (148g) gluten free or all-purpose flour
- 1–2 tablespoons sugar, to taste
- 1/4 teaspoon fine sea salt
- 1 1/2 cups whole milk (or dairy-free milk)
- 4 large eggs
- 3 tablespoons unsalted butter, melted and cooled slightly (or dairy-free alternative)
- 1 teaspoon vegetable oil
Instructions
- In a blender combine the flour, sugar (1 tablespoon for savory, 2 for sweet), salt, milk and eggs. Blend until smooth. Scrape the sides and blend in the melted butter. Refrigerate the batter for at least 30 minutes or overnight.
- Pour 1 teaspoon vegetable oil into a 10-inch nonstick skillet and warm over low heat for 5 minutes. Remove excess oil with a paper towel and increase heat to medium. Whisk or briefly re-blend the chilled batter before using.
- Pour about 1/3 cup batter into the pan and immediately tilt and swirl to cover the bottom in a thin layer. Cook until the edges brown and the bottom is golden, about 30–60 seconds.
- Loosen the crepe with a thin spatula and flip it quickly. Cook the other side about 15 seconds. Transfer to a wire rack and repeat with the remaining batter, stacking as you go. Allow crepes to cool before storing or filling.
Notes
Do Ahead: Cooled crepes can be refrigerated in a bag for up to five days or frozen for up to two months. Thaw frozen crepes in the bag at room temperature.
Tips:
- Blending the batter removes lumps and yields very thin crepes.
- Letting the batter rest improves texture—30 minutes is ideal, but you can chill up to a day.
- Preheating the pan ensures even browning; add a little oil as needed if crepes begin to stick.
- Practice makes perfect when swirling batter for a thin, even crepe.